
Managed Operating Systems & COSMOS – C# Open Source Managed Operating System
Writing an operating system in Managed Code is not entirely a new concept but its quite an interesting one. The fact that we have AOT compilers gives us this ability to write such things. This post is a little guided tour or information dump on COSMOS as I worked through the initial bits this weekend.
Background Information
Unlike a JIT compiler – where the initial source (say C# or Java) gets translated into an IL (like MSIL in .NET or Bytecode in Java) which then gets to native code when run (via the .NET CLR or the Java VM), an AOT compiler transforms the source directly to native code – which implies its compiled for a specific architecture and feature-set (eg. x86 binary). Currently there are a couple (in .NET land) to choose from – SharpOS AOT and the IL2CPU project written by the Cosmos guys.
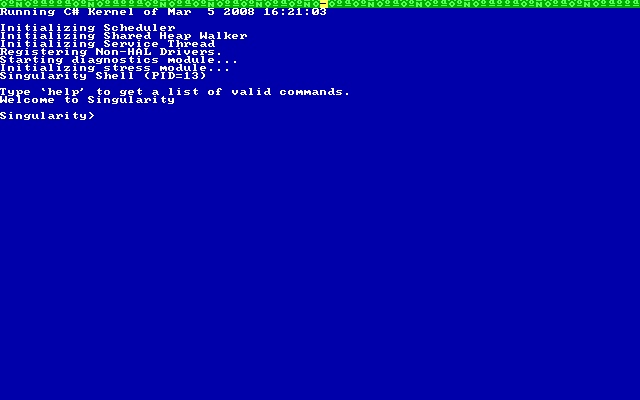
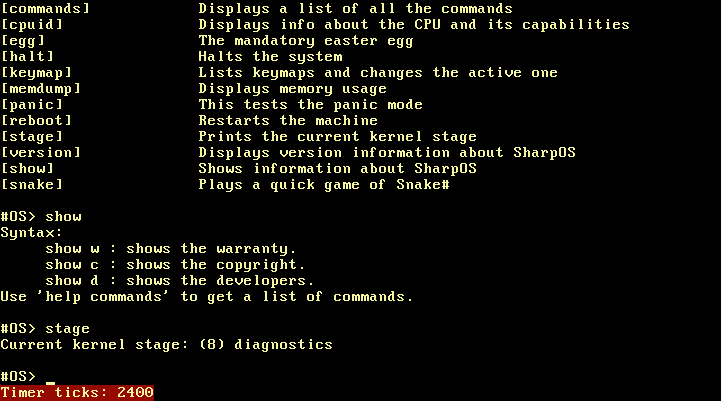
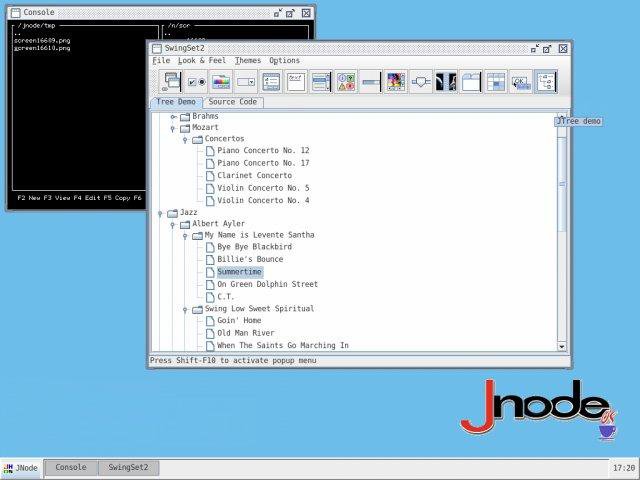
This ensures that the OS can be written entirely from managed code, unlike other attempts like JNode, JavaOS (both of which are Java based and include some ASM & C routines for the initial boot) and the Microsoft Singularity project – which uses some Assembler & C (for the interupt dispatcher) and C++ code to get things moving.
Pweety Screenshots
Side by side pretty pictures of some Managed OSs:
COSMOS
This weekend I took a bit of a look-c of COSMOS, which differs greatly from Singularity. The COSMOS compiler – called IL2CPU, written in C# – converts all the IL code generated to assembler (not to be confused with a .NET Assembly!), thereafter the assembler files are processed by NASM which generates compliant native x86 code. Eventually though, the COSMOS guys hope to generate native directly without the need for NASM. This process is quite streamlined and if you download the COSMOS User Kit you can get COSMOS + booted up and running in minutes! Its way coool!
The User Kit page has all the goss on getting it setup, I tried out Milestone 2, but some helpful� hints…
- Dont install to the default Program Files folder (especially on Vista!) put it into a non-Windows oriented folder.
- After installing and integrating into VS.NET, use the QEmu option to try it out – VMWare resources arent distributed it seems, as QEmu is already shipped theres nothing more to do.
After you have it installed, load VS.NET and create a new ‘COSMOS Boot’ project. The default template is shown below:
using System;
using Cosmos.Build.Windows;

namespace CosmosHelloWorld {
  class Program {#region Cosmos Builder logic
    // Most users wont touch this. This will call the Cosmos Build tool
    [STAThread]
    static void Main(string[] args) {
      var xBuilder = new Builder();
      xBuilder.Build();
    }#endregion

    // Main entry point of the kernel
    public static void Init() {
      Cosmos.Kernel.Boot.Default();
      Console.WriteLine("Welcome! You just booted C# code. Please edit Program.cs to fit your needs.");
      while (true);
    }
  }
}
Essentially, this boots the COSMOS kernel and displays “Welcome! You just booted C# code. Please edit Program.cs to fit your needs.”, quite simple. Run it and you’ll get the COSMOS Build Options window to help you deploy it – for simplicity select QEMU, hit build and watch the magic of the IL2CPU and other tools come together and build your OS and run QEMU. The output should be something like this (with differing paths ofcourse!):
> BuildPath = ‘D:\R&D\Cosmos User Kit\’
> ToolsPath = ‘D:\R&D\Cosmos User Kit\Tools\’
> ISOPath = ‘D:\R&D\Cosmos User Kit\<acronym title="International Organization for Standardization">ISO</acronym>\’
> PXEPath = ‘D:\R&D\Cosmos User Kit\PXE\’
> AsmPath = ‘D:\R&D\Cosmos User Kit\Tools\asm\’
> VMWarePath = ‘D:\R&D\Cosmos User Kit\VMWare\’
> VPCPath = ‘D:\R&D\Cosmos User Kit\VPC\’
> Now compiling
> Initializing IL2CPU… This may take a minute so please wait for further status…>
> Recognized Plug methods:>
> System\_Boolean\\_\_System\_Array\_TrySZBinarySearch\_System\_Array\_\_System\_Int32\\_\_System\_Int32\\_\_System\_Object\\_\_System\_Int32\\_\_
> …
> IL2CPU Run took 00:00:05.3281467
> Please wait…executing D:\R&D\Cosmos User Kit\Tools\nasm\nasm.exe…
> Please wait…executing D:\R&D\Cosmos User Kit\Tools\cygwin\ld.exe…
> Now creating <acronym title="International Organization for Standardization">ISO</acronym>
> Try removing ‘D:\R&D\Cosmos User Kit\cosmos.iso’
> Try removing ‘D:\R&D\Cosmos User Kit\<acronym title="International Organization for Standardization">ISO</acronym>\output.bin’
> Try copying ‘D:\R&D\Cosmos User Kit\output.bin’ to ‘D:\R&D\Cosmos User Kit\<acronym title="International Organization for Standardization">ISO</acronym>\’
> Running mkisofs
> Please wait…executing D:\R&D\Cosmos User Kit\Tools\mkisofs.exe…
> Please wait…executing D:\R&D\Cosmos User Kit\Tools\qemu\qemu.exe…
> Press enter to continue.
The Build agent runs IL2CPU which outputs the ASM, which then goes through to NASM who hands it over to GNU Linker. Then we bake an ISO which gets booted by QEMU. Couldn’t be easier 🙂
A man can dream Oh yes a man can dream
There are some incredibly exciting ideas are floating around about how to make the most of COSMOS and what can be fully realised on the Scenarios Page and an interview at Obsethryl Labs on COSMOS and another on SharpOS which is interesting reading.
Next time I’ll start poking around some more and see where it gets me.